
The Supernova release came out a while ago and so I think it’s time to update my Thunderbird configuration post from a few years ago.
Flatpaks
First things first, since my last post, flatpaks have become a thing… a big thing for me at least. I attempt to install the flatpak version of any software I can.
This is for a couple of reasons, the first being that most distro’s are pretty far behind the actual latest release for any given piece of software. Flatpaks fix this problem by always having the latest version available and working across any distribution you are using.
Out of Box Experience
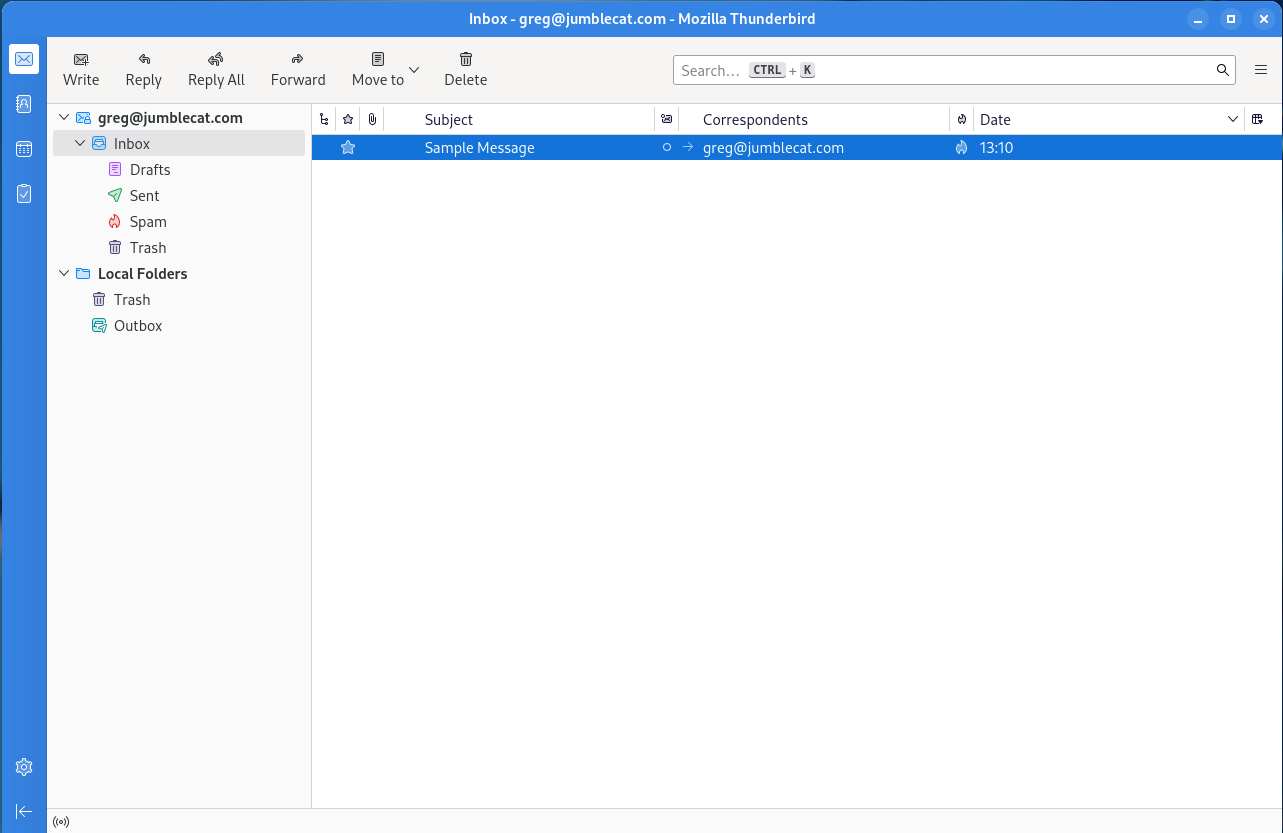
So once you install TB and setup an account, this is what you get:
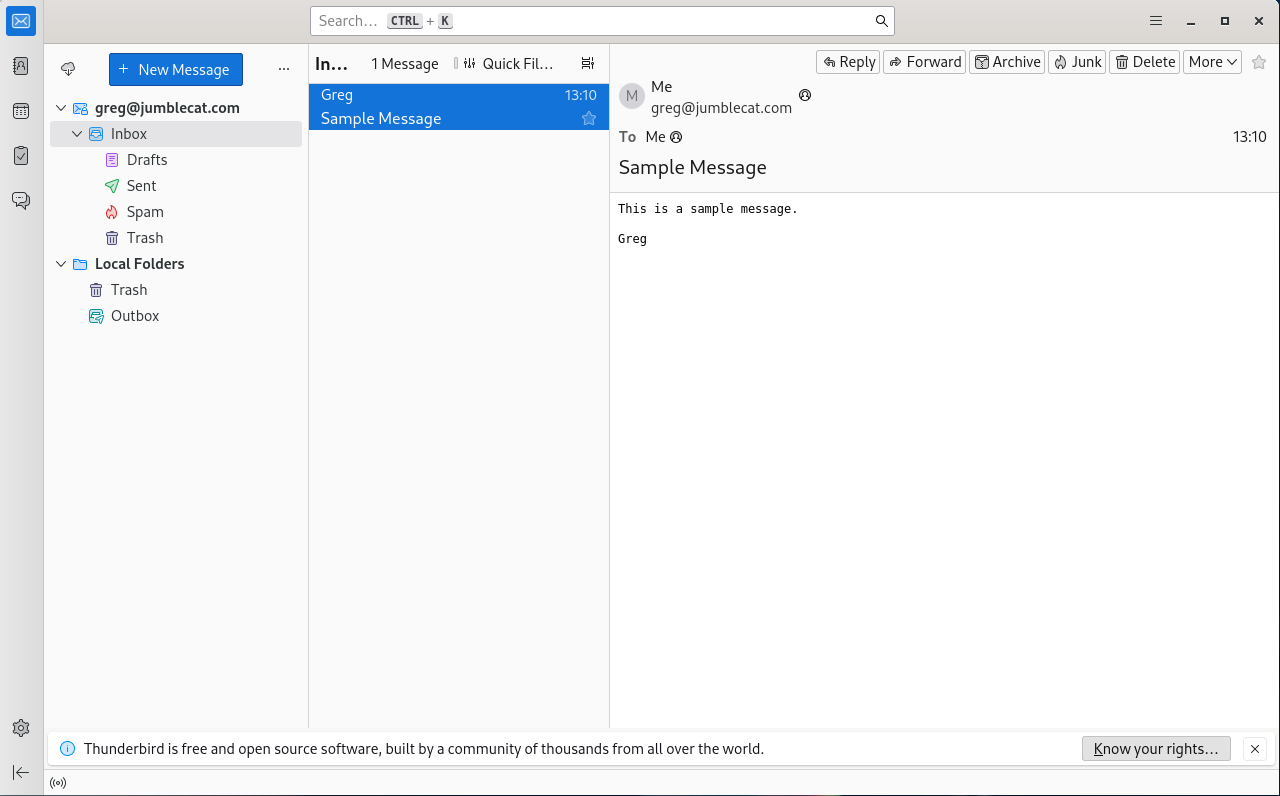
Which is… fine, but not really all that great, so let’s do some basic changes to get something a little nicer.
Basic Changes
- Turn off the folder pane header: Open the overflow menu on the folder pane header and select “Hide Folder Pane Header”.
- Change default search engine: Settings->General->Default Search Engine->Select “DuckDuckGo”.
- Show the system title bar: Settings->General->Window Layout->Deselect “Hide system window titlebar”.
- Move messages to their own window: Settings->General->Reading & Display->Open messages in->Select “A new message window” and “Close message window/tab on move or delete”.
- Turn off the message pane by pressing F8.
- Remove dynamic spacing for the search box by right click on some empty space and selecting “Customize”, then deleting the dynamic spacer on the right, repeat for each of the toolbar tabs, then click save.
- Add some toolbar buttons to the main window by once more right clicking on some empty space to the left of the search box and selecting “Customize”, then drag and drop the following items to the left of the dynamic spacer: Write, Reply, Reply All, Forward, Move to, Delete.
- Before saving, change the “Button style” to “Icons above text”, the click save.
- Disable data collection: Settings->Privacy & Security->Thunderbird Data Collection and Use->Disable all data collection.

Gradience
As much as I generally like the look of Adwiata on Gnome, the lack of a highlight colour really makes the default colour scheme look washed out to me.
Gradience comes to the rescue here and lets you add some colour to hightlight the theme a bit.
Once you install Gradience, follow the setup tutorial, and make sure to install the GTK3 Adwiata theme as well. You’ll need to activate it in Gnome Tweaks after installing it as the legeacy theme.
Once that is done you can make a couple simple changes to the Adwiata theme in Gradience:
- Go to the “Header Bar Colors” section.
- Change “Background Color” to the middle blue.
- Change “Foreground Color” to white.
- Apply the changes and save it if you like.
Once done, logout and back in to apply the changes properly.
Spaces
The Spaces toolbar on the left isn’t too bad, but it looks a little out of place, so let’s customize it a bit:
- Right click on an empty bar of the toolbar and select “Customize”.
- Set the “Background colour” to match the blue you set in Gradience.
- Set the “Button colour” to white.
- Set the “Selected button background color” to white.
- Set the “Selected button color” to match the blue you set in Gradience.
- Click done.
Message List
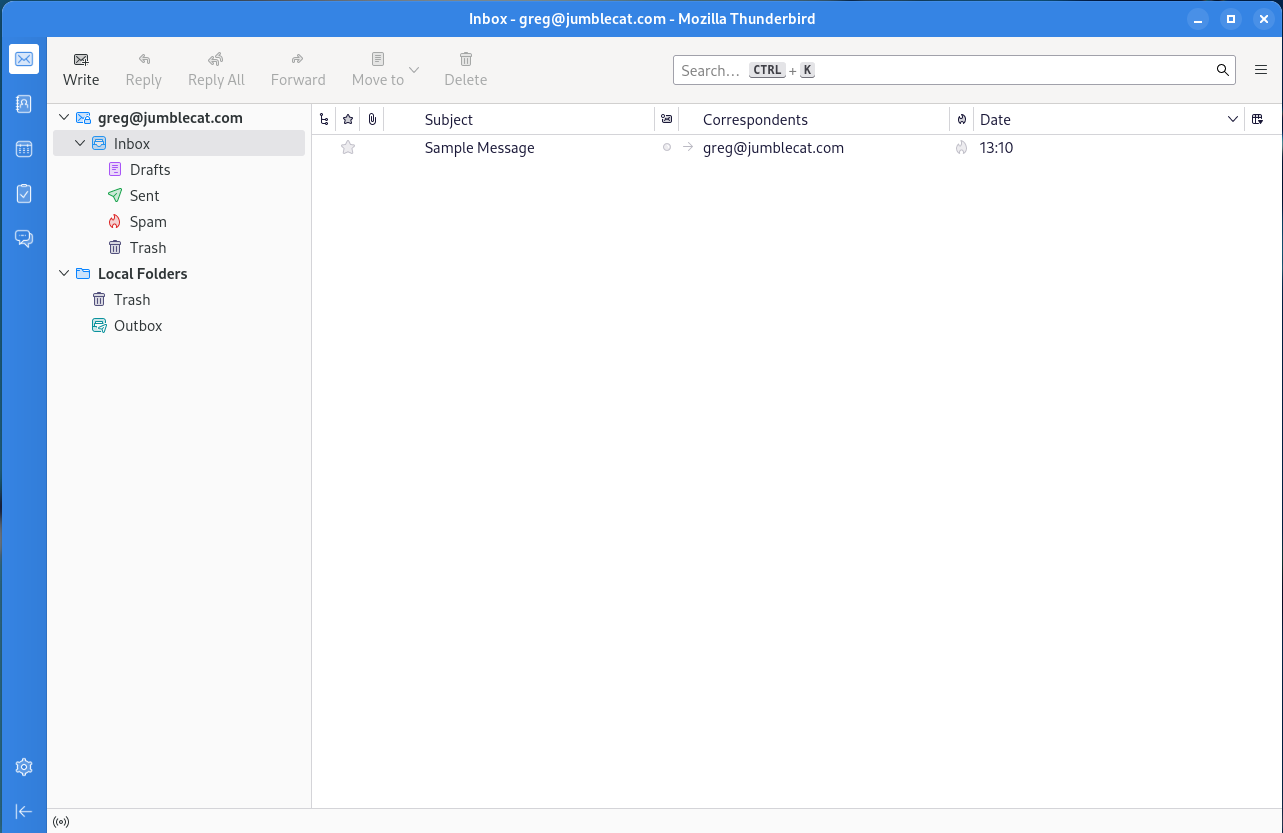
Let’s make a few minor changes to the message list as well:
- Go to the message list header row and click the “Message list display options” button on the far right, then select “Table View”.
- Go back to the same menu and select “Hide Message List Header”.
Disable Chat
So I don’t use Thunderbird as a chat client, and having the chat icon on the Spaces toolbar is kinda annoying, so let’s remove it and disable chat entirely:
- Go to Settings->General->Config Editor (located at bottom of page).
- In the search box enter “mail.chat.enabled”, double click the option below so that the setting is “false”.
- Restart Thunderbird.
Message Window
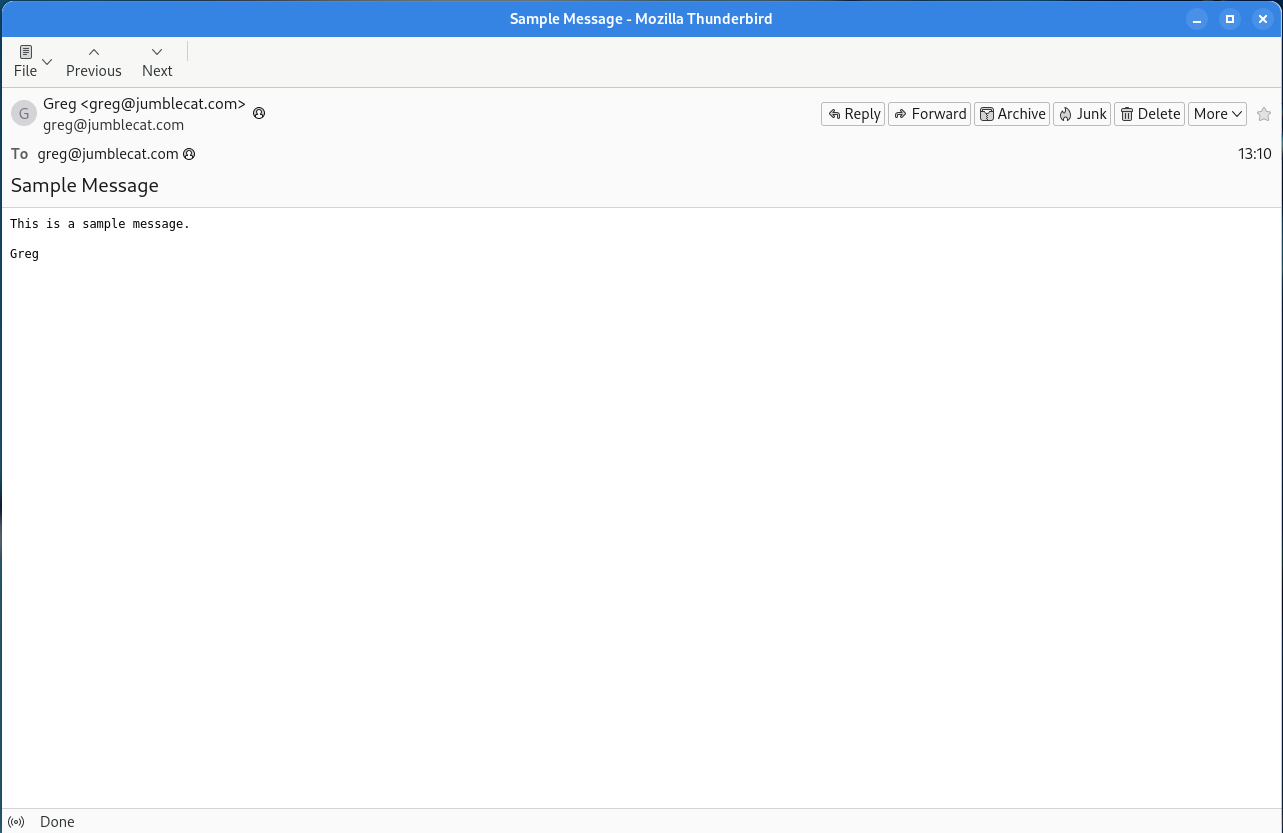
Ok, that’s got the main window looking pretty good, let’s do some changes to the mail window. At the moment it should be looking something like this:

Let’s get it matching the main window a little better:
- Right click on an empty part of the toolbar and select “Customize”.
- Change the “Show” option to “Icons and Text”.
- Add the File, Previous, and Next buttons to the menu.
- Remove the “Get Messages”, Write, and Tag items.
- Click Done.
- Right click on an empty part of the menubar and deselect “Menu Bar “.
- Show full names: Settings->General->Reading & Display->Display name: deselect “Show only display name for people in my address book”.
Extensions
Ok, so that’s all we can do with the built-in settings, so now it’s time to add some features through extensions. We’re going to be installing and using four extensions:
- Hide Local Folders for TB78++: Hides the local folders in the folder list, as they are not used for IMAP servers anyway… and you’re not still using POP3 right? Right? RIGHT?
- LookOut (fix version): Only needed if you get meeting invites and other things from MS Exchange users.
- No tabs: Gets rid of the tabbed user interface.
- Message Header Toolbar Customize: Let’s you customize the message header toolbar in the message view.
The first three require no configuration, so they’re pretty much install and use, the last does require some additional config.
No tabs is my favourite new extension for Thunderbird, basically when Thunderbird opens what would be a new tab, it closes the previous tab so that your Thunderbird interface never shows the tab bar.
Ok, so now we can go back over to the message window customize the Message Header Toolbar:
- On the toolbar, select the “More” menu and then “Customize Toolbar”.
- Select “Archvie” and click “Hide”.
- Select “Starred” and click “Hide”.
- Change the “Button Size” to “Large”.
- Click Close.
BirdTray
One of the issues with Thunderbird on Linux has always been the lack of a notification tray icon, Birdtray fixes that issue and is a flatpak to boot.
It has lots of configuration items on how to do the notifications, so customize it to your hearts content.
Final Results
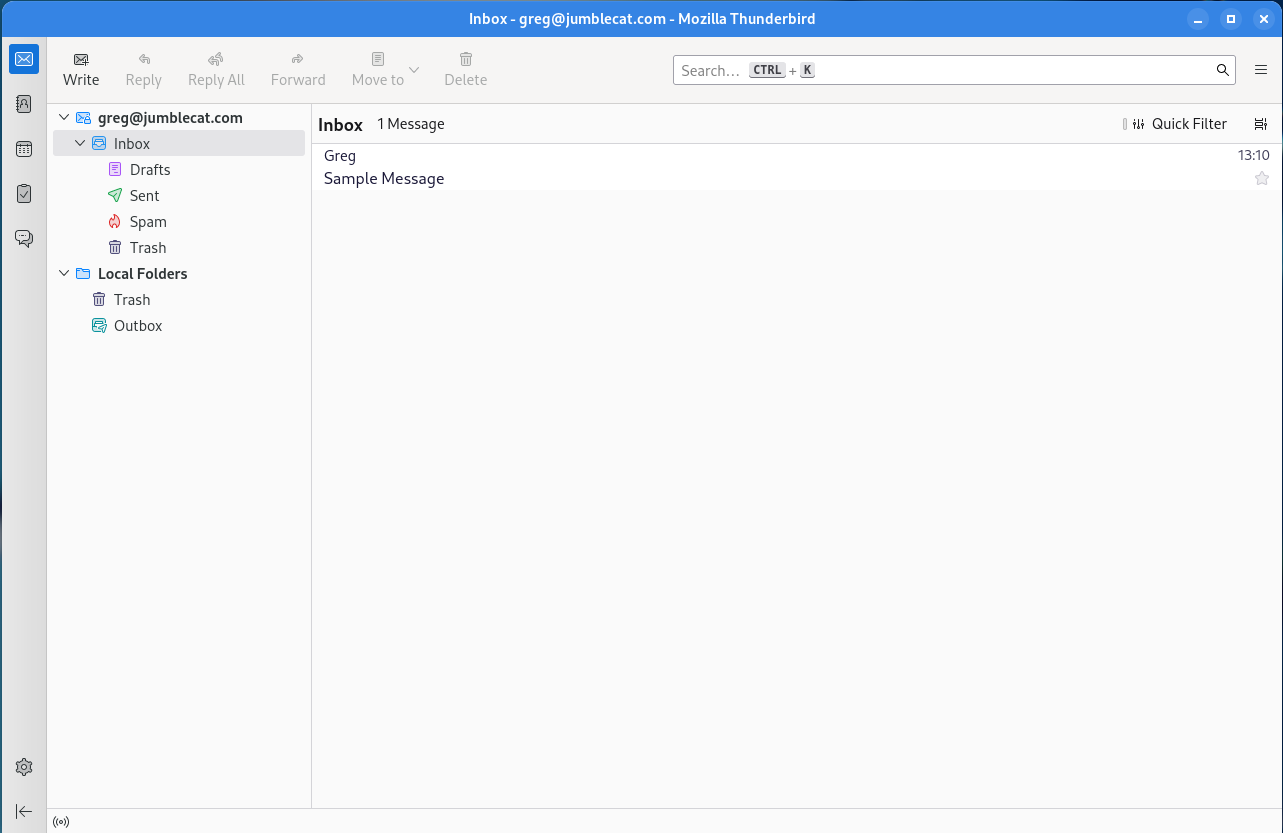
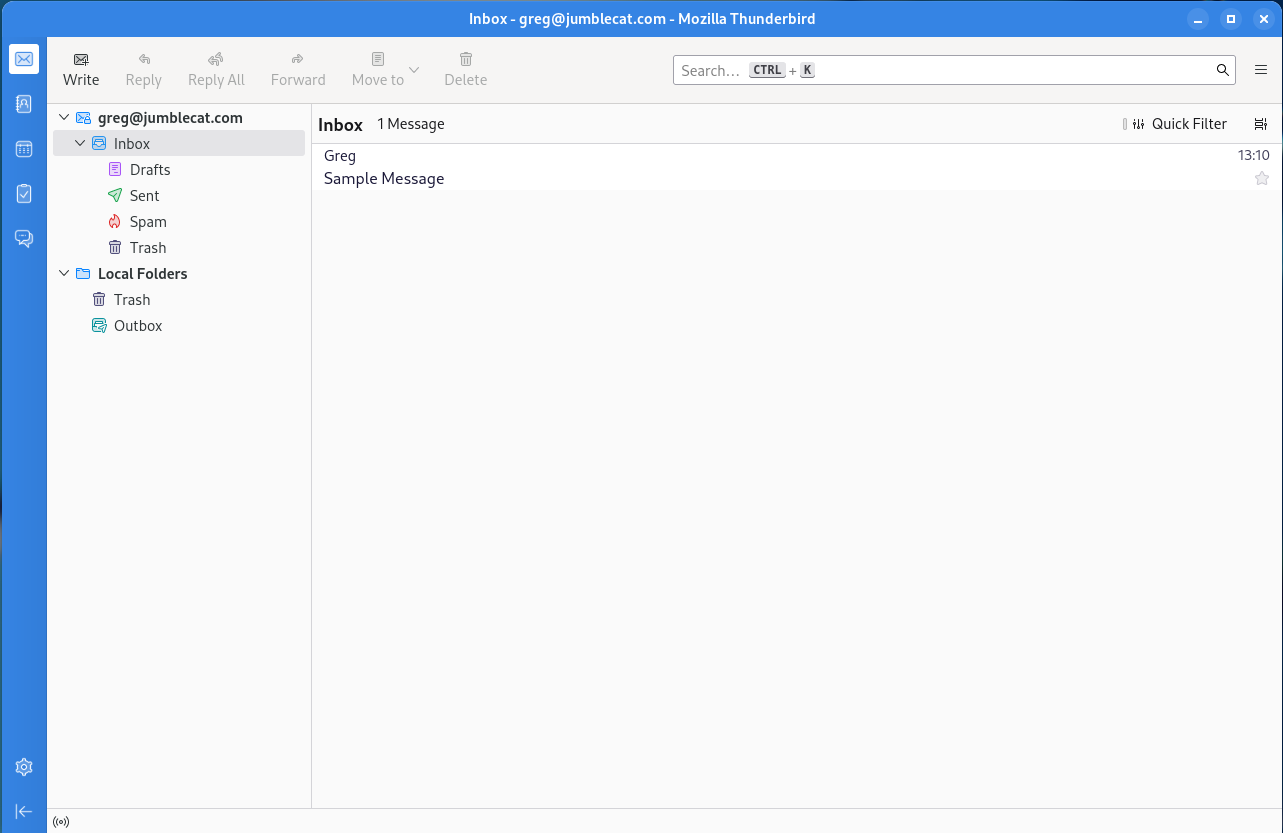
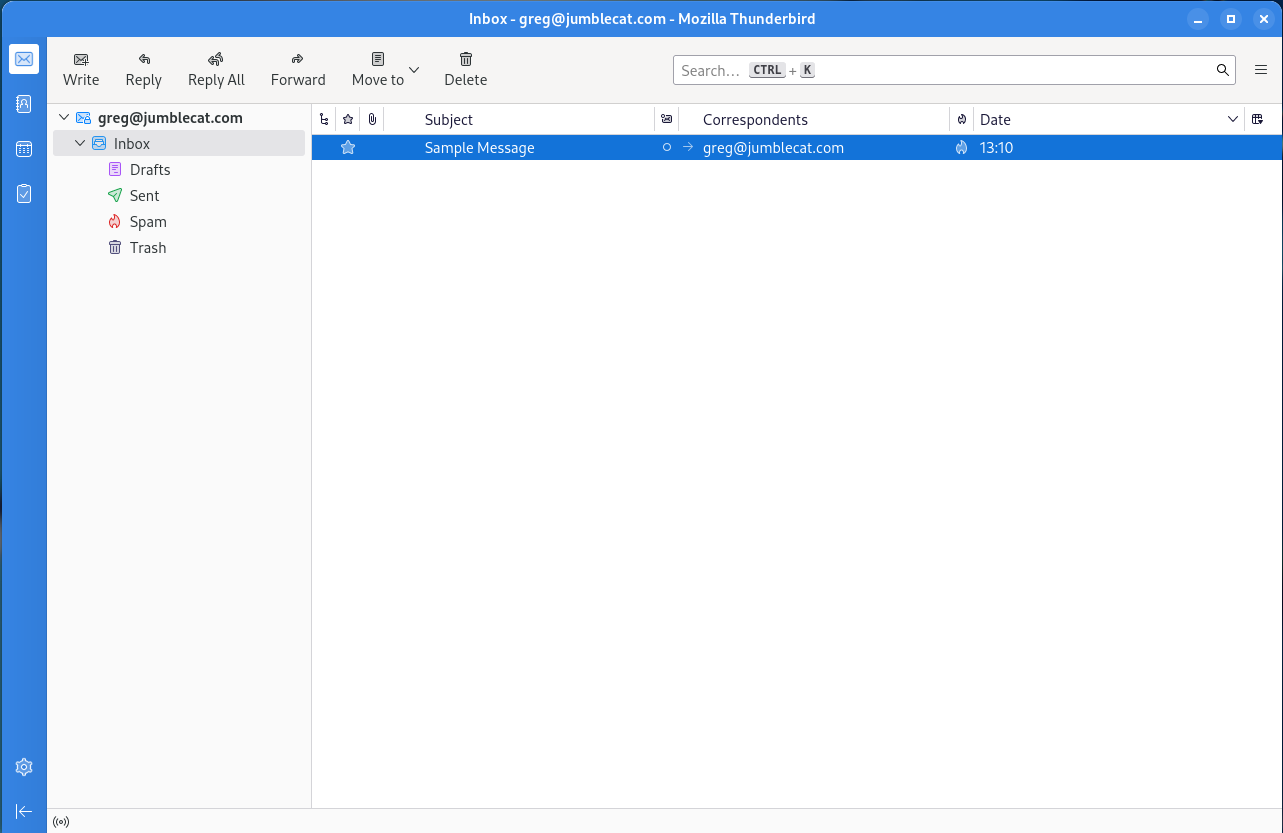
Ok, we now have a main window that looks like this:
And a message window that looks like this:
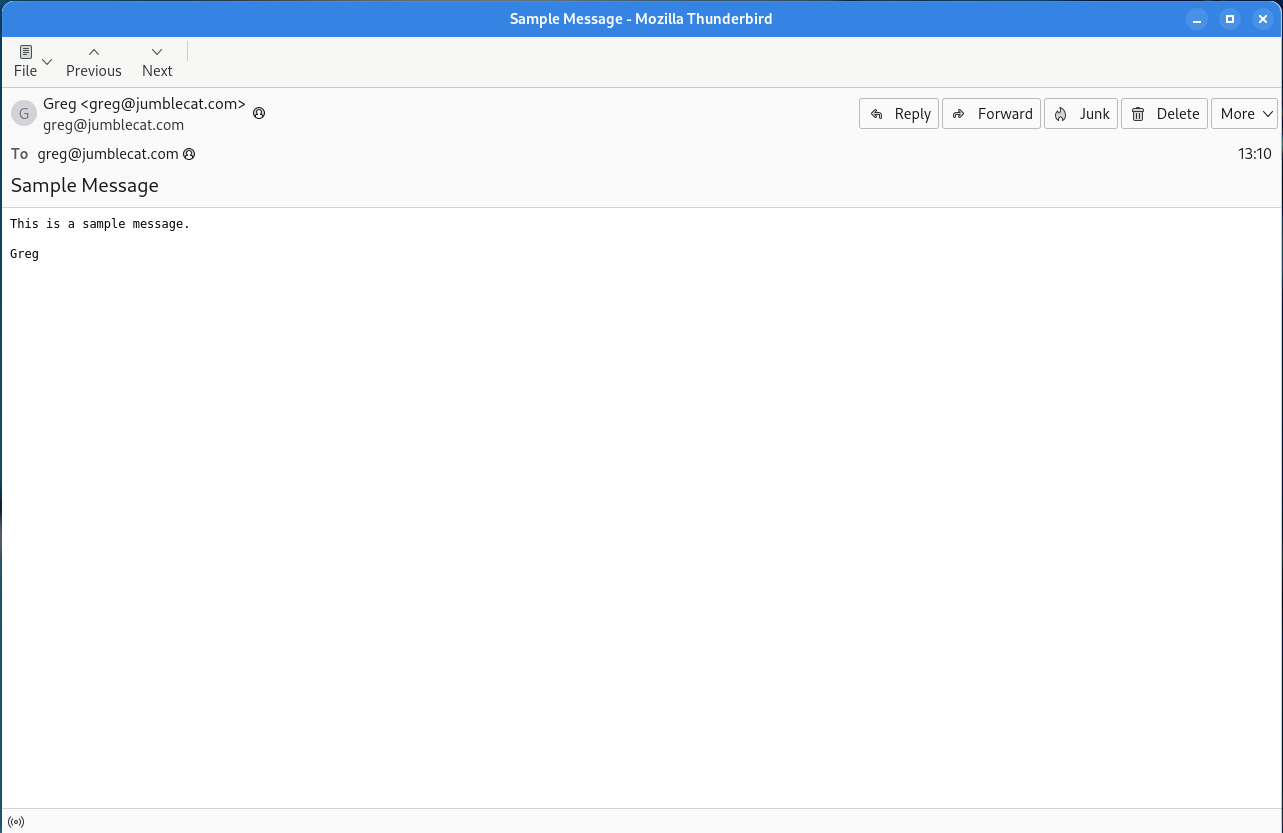
Overall not too bad, but there are a few things that could be better.
Future Improvements
- In pre-Supernova versions of Thunderbird, you could move the “Message Header” buttons to the main message window toolbar, that is no longer possible. It would be nice to bring that functionality back at some point so you could hide the Message Header Toolbar completely.
- Much like above, the message window no longer has the main menu dropdown on the right of the toolbar, so if you want to access any of the window menu items you have to pop up the menu bar by tapping the alt key.
- Speaking of the main menu dropdown, it can’t be moved, it is stuck on the right hand side.
- Some of the sub-toolbars, like in Contacts, can’t be customized at all, so they’re stuck with “Text beside icons” and no ability to add or remove them.
- The Density option is not granular enough. For example, I’d like the normal density for the majority of the interface, but the message/folder list could really stand a little more padding.
Final Thoughts
Supernova is a big step forward for Thunderbird, and I’ve been quite happy with it overall. There are, as noted above, a few things that could still be improved, and hopefully they will be in future releases.
If you’re looking for a mail client, I’d highly recommend it.